Rufus is among the best methods to create bootable USB media in Home windows. Nevertheless, the software solely helps Home windows and Mac. So in case you are utilizing Linux distributions, RUFUS isn’t an possibility. However like most instruments, there are some nice Rufus alternate options which you could attempt to convert ISO to bootable USB Media on Ubuntu or any Ubuntu or Debian-based Linux distributions.
Ubuntu and plenty of main Linux distributions come preloaded with a set of important utility instruments. This contains Startup Disk Creator, which helps to create bootable USB Linux media. On this article, let’s have a look at making a bootable USB drive in Ubuntu utilizing completely different apps.
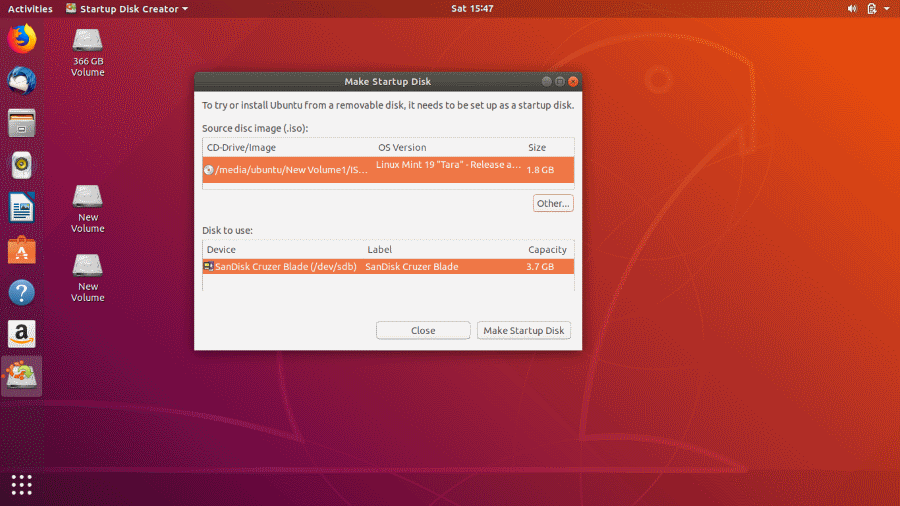
Startup Disk Creator is a built-in utility in lots of Linux Distros like Ubuntu. Right here’s learn how to use it:
- Open the sprint menu. In case you are utilizing the most recent model, use the left pane to open the present functions.
- Open the Startup Disk Creator utility by typing or looking out within the search field.
- Now, you have to to pick out the supply ISO file and particular gadget for bootable media. When you have chosen the mistaken gadget or ISO, click on different to alter your choice.
- After verifying the ISO file, click on on Make Startup Disk to create a brand new Bootable USB startup disk in Ubuntu Linux.
- Lastly, a immediate will seem asking you to substantiate your choice. Verify the immediate to start out the method.
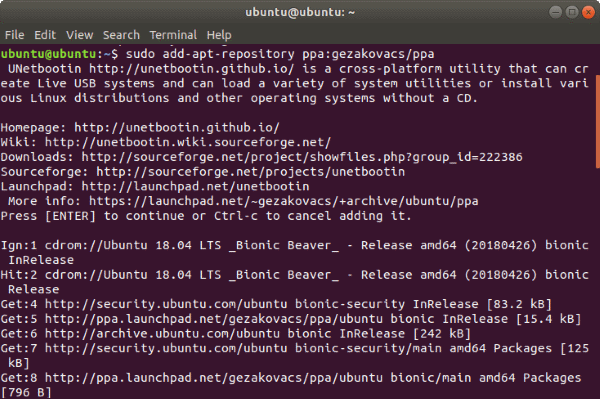
In contrast to Startup Disk Creator, UNetbootin doesn’t come preinstalled within the Ubuntu Linux distribution. To put in it, first, add the official PPA, replace the repo base after which course of with putting in Unetbootin
Set up UNetbootin
sudo add-apt-repository ppa:gezakovacs/ppa
sudo apt-get replace
sudo apt-get set up unetbootin
Now, UNetbootin might be put in and the bootable USB creator utility will seem in your functions record.
Utilizing UNetbootin for Ubuntu Linux
- Plug within the USB drive and Unetbootin will mechanically acknowledge it
- There are two choices to make a bootable USB – utilizing the Distribution dropdown menu or deciding on a disk picture.
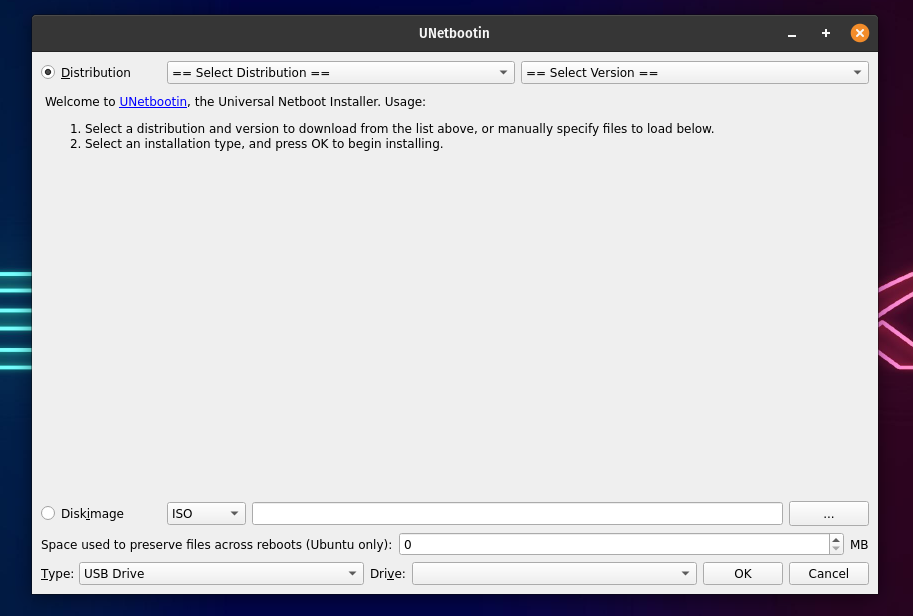
Choosing the distribution will mechanically obtain the mandatory information for the particular distribution from the web. To put in a distribution utilizing the identical methodology.
- Choose each the distribution and the model.
- Now, select the sort as USB and choose your USB drive from under and click on OK.
- When you click on okay, UNetbootin will obtain the mandatory information and set up them in your USB.
In case you are seeking to create a Home windows 10 USB set up media utilizing UNetbootin, you’ll select the disk picture possibility. To take action:
- Choose disk picture and select ISO.
- Now, Browse the ISO that you simply wish to make as an set up media.
- Once more, select the sort as USB and choose your USB drive. When you click on okay, UNetbootin will set up the boot media to your USB.
3. Convert ISO to USB in Ubuntu Utilizing ddrescue
That is Ubuntu we’re speaking about. The terminal is the highest software for a typical Linux consumer. So let’s say that we have been saving the perfect for the final. That is the best technique to convert ISO information to a USB disk in case you are keen on utilizing terminal instructions.
For starters, ddrescue is a information restoration software that may clone any storage gadget. We are able to use ddrescue to transform ISO information to USB sticks.
Set up ddrescue
First issues first. You have to a working web connection to obtain and set up ddrescue. (In case you have already got it put in, you may skip this step).
sudo apt replace
sudo apt set up gddrescue
You have to to know the precise block gadget title (one thing like dev/sd..). To do that, use the command fdisk. Enter the next command,
sudo fdisk -l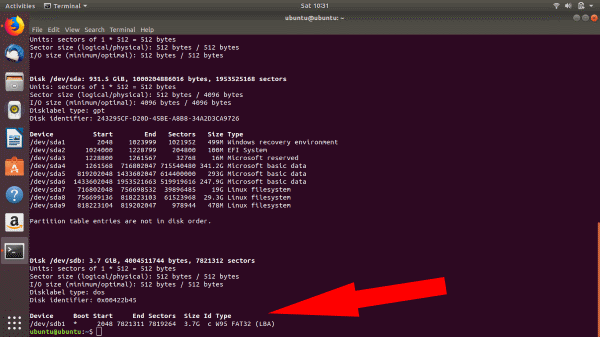
When you enter the fdisk command, you may see all of your gadgets related. Right here, you may see that the block gadget title for the USB is /dev/sdb1.
It is very important confirm that the block gadget title you selected is the right one, otherwise you would possibly find yourself with corrupt/destroyed information.
As soon as performed, enter the command as follows:
ddrescue path/to/.iso /dev/sdx --force -D
Exchange the x and path/to/.iso along with your particular gadget block title and the trail for the iso file.
When the method is completed, you may boot into your bootable Ubuntu USB stick.
4. Create Bootable USB Utilizing Etcher On Ubuntu
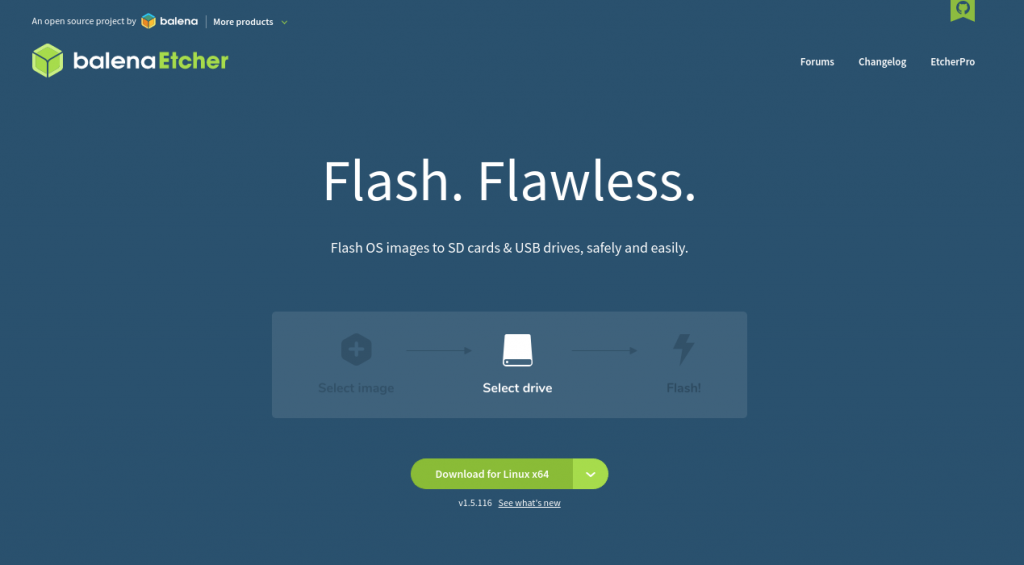
Balena Etcher is one other useful gizmo for making bootable USBs. What makes it particular is its pace and superb UI. Additionally, it is extremely simple to put in and use.
- Head over to the official Etcher web site and obtain the zip on your OS.
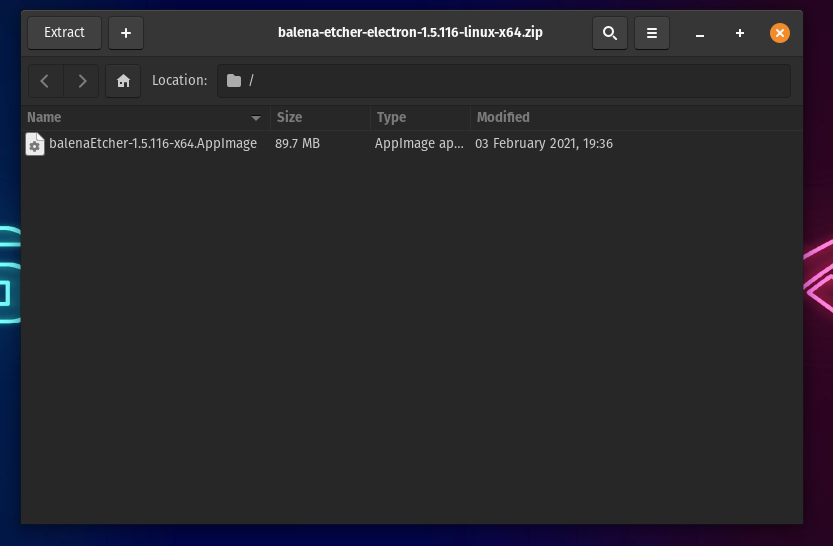
- Now, extract the zip utilizing the default archive supervisor on Linux. In case you’re on Home windows, all you’ll want to do is obtain the .exe file and double-click to execute it.
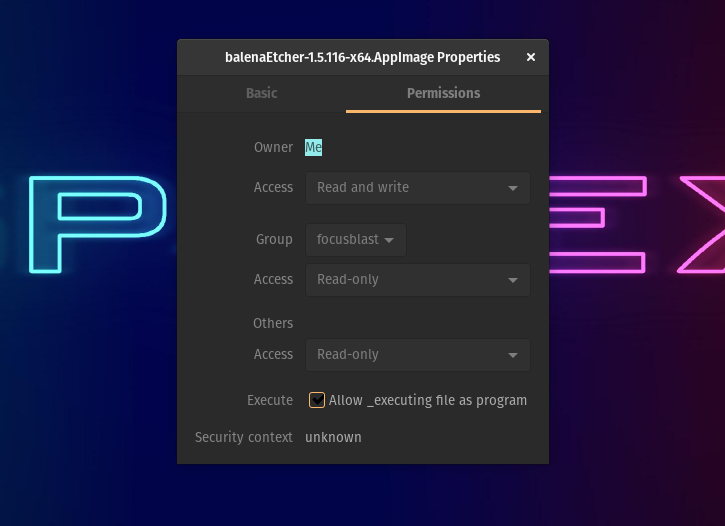
- After you’re performed extracting it on Linux, right-click on the extracted app picture and click on on properties.
- Within the permission tab, discover and verify the “Permit executing as a file program” possibility.
- Double-click on the App picture to open Etcher. If nothing occurs, hearth up the terminal, head over to the listing the place the app picture is positioned, and run the next command.
./balenaEtcher-x.x.xxx-x64.AppImageExchange the x.x.xxx with the model that you’ve got downloaded. For instance, balenaEtcher-1.5.116-x64.AppImage. Await a few seconds till Etcher launches and when it does, right here’s what you’ll see.
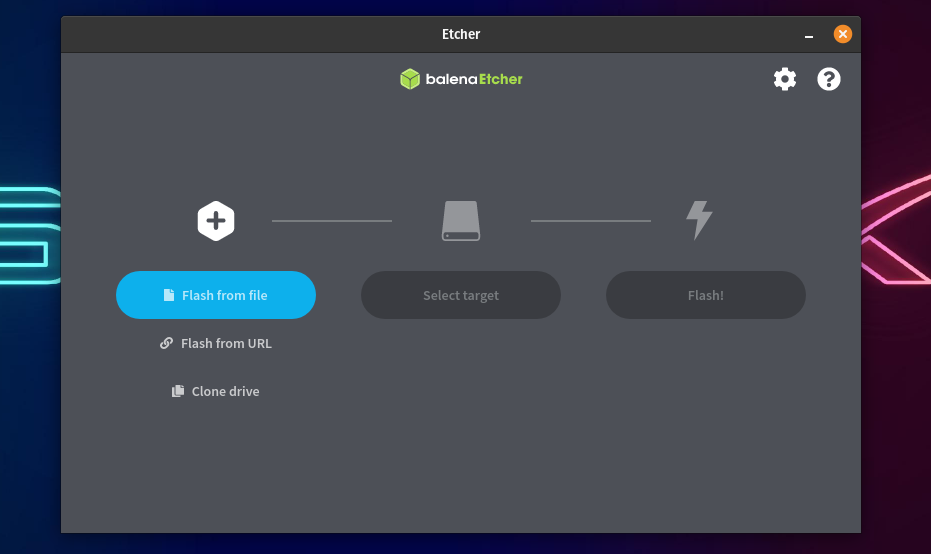
- To flash a USB drive, choose the ISO that you simply’ve downloaded.
- Choose the goal USB gadget from the record of gadgets, and at last.
- Click on on the Flash! Button.
Additionally, try our article on learn how to mount and unmount a USB drive on Ubuntu intimately right here!
5. Create A Bootable USB Utilizing Popsicle (Linux Solely)
Popsicle is a USB bootable media creation software that comes preinstalled in Pop!_OS. It’s a light-weight and quick USB flasher that additionally lets you flash ISOs on a number of USB drives concurrently. As Pop!_OS is predicated on Ubuntu, you may set up Popsicle on Ubuntu. To do it.
- Open the terminal and add the System76 PPA the place Popsicle resides, utilizing the next command.
$ sudo add-apt-repository ppa:system76/popsudo apt-get set up popsicle- To flash an ISO open the Popsicle utility.
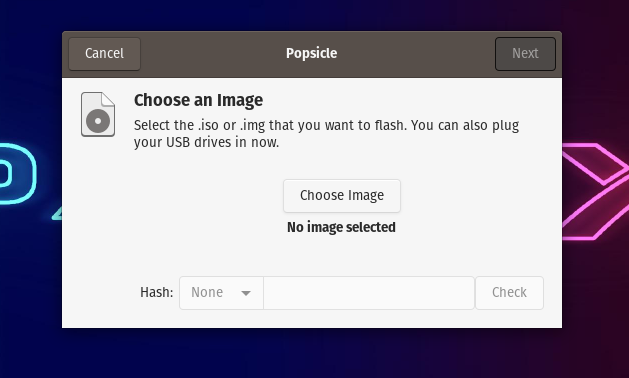
- Now, click on on Select Picture and browse for the ISO that you simply wish to flash.
- After deciding on the ISO, click on on Subsequent.
- Plug-in the USB drive and choose the goal gadget on Popsicle.
- Lastly, click on on the Write button and look forward to 5-Quarter-hour till the flashing is finished.
- Voila! You now have a bootable USB. That was fairly simple, proper?
In the meantime, you may as well try our detailed information on learn how to restore a corrupted sd card or pen drive right here!
Now that just about sums up the mandatory steps that you’d have to do to Create a Bootable USB stick utilizing Ubuntu Linux. Moreover, in case you are nonetheless having hassle booting into the USB stick, head over to BIOS/UEFI in your machine to configure the boot settings. Lastly, as all the time, use the remark part to remind us of something that we missed. Cheers!
Additionally, try our article on learn how to create a Home windows 10/11 bootable USB with out Media Creation Device right here!